7 ChatGPT Prompt Mistakes That Ruin Face Accuracy (And How to Fix Them)
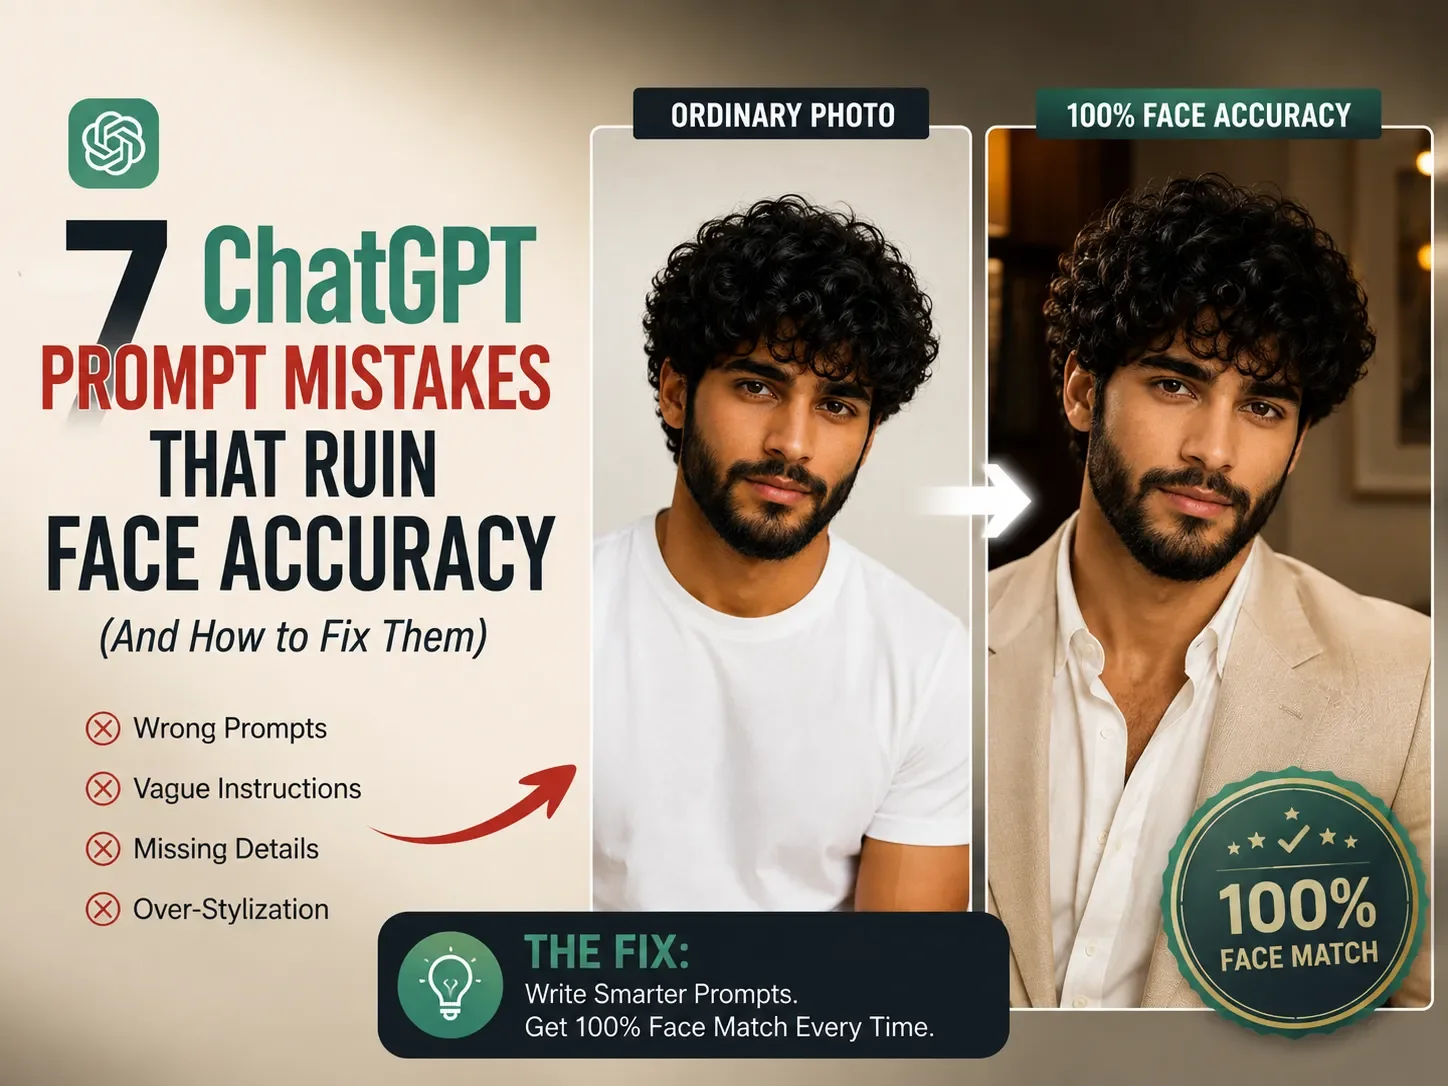
If you've ever uploaded a photo to ChatGPT and asked for a stylistic edit, only to get back a face that's almost you but the eyes are wrong, the jaw is subtly reshaped, or your skin tone has shifted three shades, you've run into the single most common complaint in AI photo editing. Face accuracy is the number one thing people search for, and the number one thing that quietly breaks.
The good news: it's rarely random. It's almost always one of a small set of prompt mistakes, and once you know what they are, you can catch them before you hit send.
1. Describing the Edit Instead of Preserving the Face
The most common mistake is writing a prompt that's 100% about the style you want and 0% about what should stay the same. "Make this look like an old money editorial photo" tells the model everything about mood and nothing about identity preservation.
Fix: Explicitly instruct the model to keep facial structure, proportions, and identity unchanged. A line as simple as "keep the face, facial features, and skin tone identical to the original photo" does more for accuracy than almost any other single addition to a prompt.
2. Stacking Too Many Changes in One Prompt
Asking for a new outfit, a new background, a new lighting mood, a new pose, and a new expression all in a single instruction gives the model too many places to quietly reinterpret the face while it's busy solving everything else. The more the model has to change, the more "drift" creeps into the parts you didn't mention.
Fix: Separate structural changes (pose, background, outfit) from cosmetic ones (lighting, color grading). Fewer simultaneous instructions means fewer opportunities for unintended facial drift.
3. Vague Lighting and Color Language
Words like "make it aesthetic" or "give it a moody vibe" are style-adjacent but technically meaningless to the model. When lighting instructions are vague, the model often compensates by adjusting skin tone, contrast, and shadow across the whole face which is where a lot of "why does my skin look different" complaints come from.
Fix: Use concrete lighting vocabulary "soft diffused daylight," "warm golden-hour side lighting," "neutral studio lighting, no color cast." Specific lighting instructions reduce the model's need to improvise, which reduces skin-tone shift.
4. Not Anchoring the Camera and Framing
If you don't specify framing, distance, or angle, the model may reinterpret the shot in a way that subtly re-renders the face a slightly different angle can look like a different bone structure even when nothing was "changed" on purpose.
Fix: State the framing explicitly: "close-up portrait, same angle as original," or "waist-up shot, camera at eye level." Anchoring the camera reduces the model's freedom to reinterpret geometry.
5. Using Reference Words That Pull in Unwanted Style
Certain words carry strong stylistic baggage the model has learned from millions of images "cinematic," "dramatic," "editorial," "glam." These words are useful, but each one nudges color grading, contrast, and sometimes facial softening in a specific direction. Stack three or four of them and you get compounding, unpredictable drift.
Fix: Pick one dominant style word, not four. If you want "editorial," don't also add "dramatic," "moody," and "cinematic" choose the single word closest to your intent and let the rest of the prompt do the descriptive work in plain language.
6. Ignoring the Original Photo's Limitations
A blurry, low-resolution, or harshly lit source photo gives the model less accurate facial data to preserve in the first place. No prompt can fully compensate for a source image where the face is partially obscured, poorly lit, or low-resolution.
Fix: Start with the clearest, most evenly lit photo available. If accuracy matters more than the edit itself, source quality is doing at least as much work as the prompt.
7. Not Requesting a Second Pass
Many people treat the first output as final. But small facial drift is often correctable by asking the model to compare its own output back to the original and adjust it's a self-correction step most users skip entirely.
Fix: After the first result, prompt: "Compare this to the original photo and correct any differences in the face, especially eyes, nose, and jawline." This second-pass instruction catches drift the first prompt didn't prevent.
The Common Thread
Every one of these mistakes comes from the same root cause: leaving something unspecified and letting the model fill the gap. Face accuracy isn't a setting you turn on it's the sum of every ambiguity you didn't leave in your prompt. Tighten those seven areas, and most of the "why doesn't this look like me" problems disappear before they start.